
How to feed sourdough starter with another type of flour – This is part II of our sourdough starter guide. There are several reasons why people want to switch flour for their sourdough starters. Whatever reasons you have, it is very easy to do so!
If you have successfully grown your sourdough starter, congratulations! Then, I have good news for you. This part of the two-part guide is so much easier than you think! If you do not own a sourdough starter or planning to grow one from scratch, please visit Part I of this guide first, then you can pick up where you left off here.
So why do we want to switch flour for our sourdough starter?
The taste factor: Different flours have different types of properties and flavours. If you bake rye breads often, you do not need to switch flours at all. In fact, you can also bake wheat breads with rye sourdough starter. Rye loaves are great. No kneading is required. However, wheat loaves are more popular and common. Due to the high gluten content in all-purpose flour, sourdough tends to rise higher. The end-product is fluffier, and less dense.
Rye sourdough starter tastes different from wheat sourdough starter. If you bake wheat bread with rye sourdough starter, the rye flavour will be transferred to your sourdough. Unless you do not mind the tangy taste of rye, having a wheat sourdough starter is not a bad idea at all.
Personally, I own two types of sourdough starters (rye and wheat starters) because I enjoy experimenting with different types of loaves. I usually use wheat sourdough starter for wheat loaf or spelt sourdough. If you want to own both types of starters, simply refresh one glass of rye sourdough starter (10g active rye sourdough starter) as usual and feed 10g active rye sourdough starter with another type of flour. Thereafter, simply refresh both starters once per week with the respective types of flours.
The cost factor: All-purpose flour tends to be much cheaper than rye flour. In the long-run, it is cheaper to maintain a wheat sourdough starter.
Just a little disclaimer, I am not a professional baker. I am just a simple mum, who likes baking. This blog post is written from my experience and research. We have grown several sourdough starters, and they were all successful. Therefore, I would like to share my experience with you.
Tips on switching flour for our sourdough starter
- Always have a plan B: This step is essential for this part of the guide. After you feed your sourdough starter with another type of flour, do not (I repeat, do not) discard your rye sourdough starter yet. Instead, put it back into the refrigerator or give it some refreshment. In case, it did not work out with the switch, you can try it again.
- Temperature is key: The right temperature again is very important for the switching of flour for the sourdough starter and while rising your loaf. The optimal temperature lies between 26 °C and 30 °C. It is crucial to maintain this temperature until the “new” sourdough starter grows. It usually takes about 8 to 12 hours. For more details and tricks on how to maintain this temperature, please visit this post.
- Using exact measurement: Again, use exact measurement stated in the recipe.
- Types of flour to use: You can basically use any types of flour to feed the sourdough starter, it does not have to be whole grain any more. It is nice-to-have, but not a must-have. The best option is to use the type of flour, you bake with the most. For example, I often bake with all-purpose flour, I just switch all-purpose flour for my sourdough starter. However, you should not switch flours too regularly, it takes time to stabilise the starter.
- Time and patience: After you have grown your sourdough starter from Part I, please wait at least a few weeks before you try out Part II. A young sourdough starter needs some time to become mature. An active young sourdough starter does not rise bread doughs as good as a mature sourdough starter. You will observe this, when you bake your first bread. Just observe this for several weeks, when your sourdough starter is strong enough, you can go on with the second part of this guide.
- Hygiene: It is important to always start with clean utensils and clean hands to avoid contamination. Clean all bowls, jars and spoons with boiling water. Be careful as it is very hot.
Ingredients and tools which we need

Once again, this list is (almost) the same as part I of this guide. There are many professional baker tools out there. They are definitely nice-to-have, but not a must-have. All you need are
- Oven gloves
- Kitchen scale
- One 500g glass jar with lid and wide opening, which are heat-resistant. Canning jars are suitable in this case. I always recycle my glass jars from the consumption of apple purée, marmalade or honey. In Germany, these glass jars are often heat-resistant. This means that you can clean them using boiling water without damaging them.
- 2 Metal spoons, they should be long enough to reach the bottom of your jars. If you have a silicon spatula, you can use it too.
- 1-2 bowls for your ingredients and to put your spoons.
- For this recipe, you will only need all-purpose flour, active sourdough starter from part I and warm water. 25g of warm water for stiff sourdough starter and 50g of warm water for liquid starter. Personally, I prefer to have a stiff wheat sourdough starter because I just prefer this texture, and it is better for storage. Therefore, this recipe will focus on that.
How to feed sourdough starter with another type of flour

“”Before you feed your sourdough starter with other type of flour, you should always start with clean utensils and clean hands. Clean all bowls, jars and spoons with boiling water. Be careful as it is very hot and use exact measurements. If you require more help, then watch the tutorial below.
Switch flour of your sourdough starter:
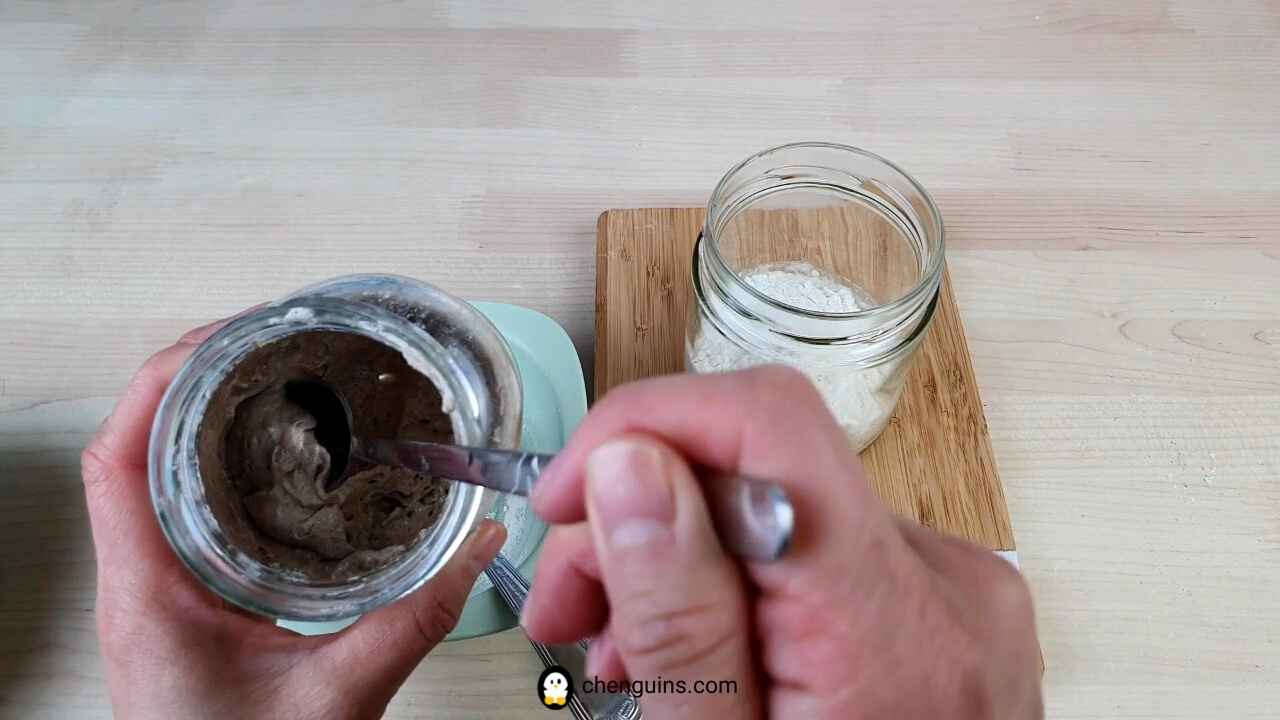
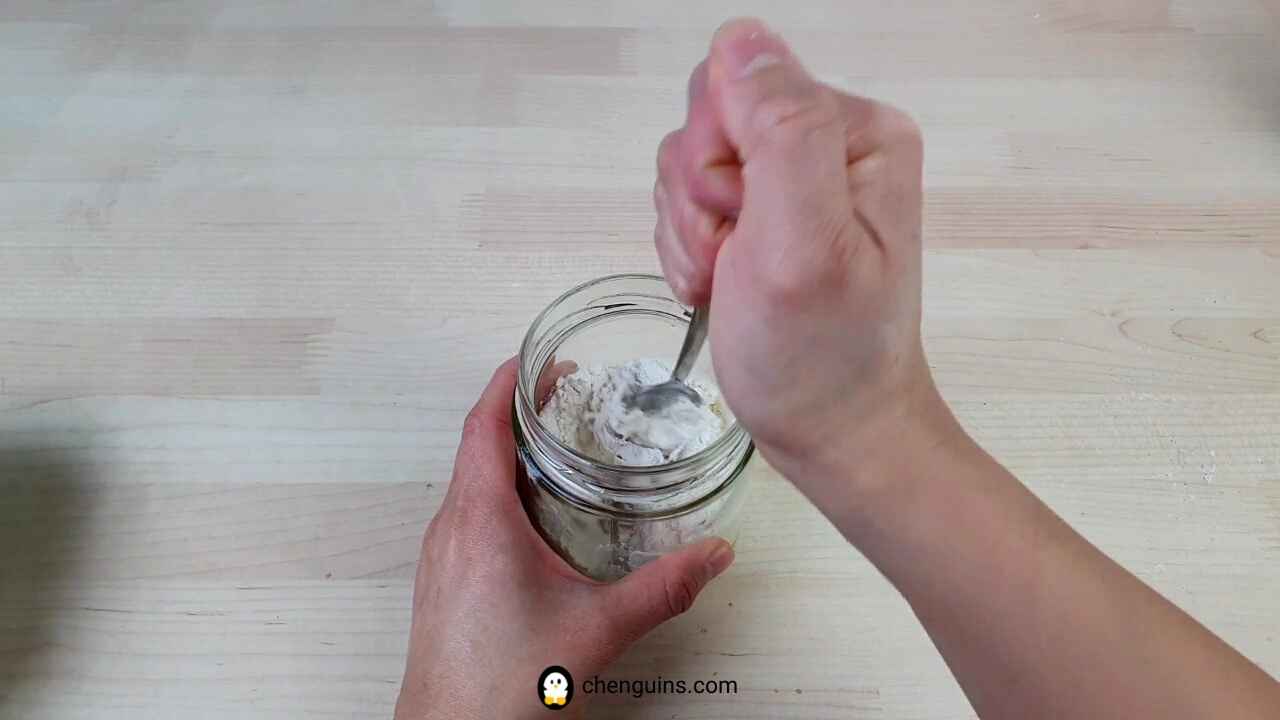
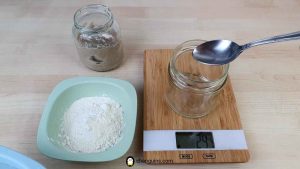
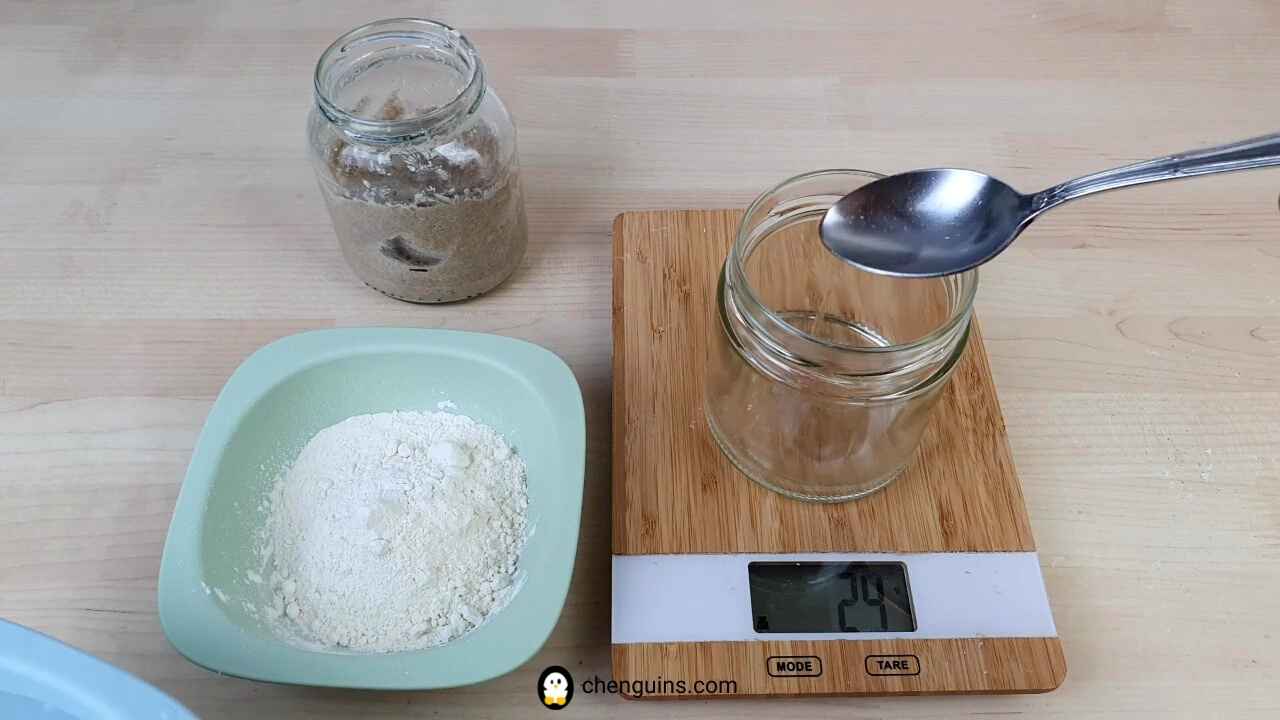
- In a small clean jar, add 50g of all-purpose flour (or flour of your choice) into 25g of warm water. Thereafter, add 10g of the active rye sourdough starter (see Part I) into the jar. Do not throw away the rest of the rye sourdough starter until the new sourdough starter has grown successfully. In case, the new sourdough starter did not work out, you can switch the rye sourdough starter again. In addition, it is also possible to own several types of sourdough starters for different sourdough breads.
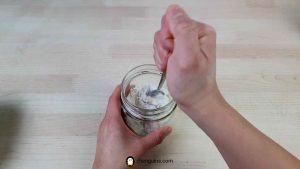
- Mix the ingredients with a clean spoon until you get a smooth texture.
- With the help of a second spoon, smoothen the top of the mixture until you get a flat surface. Mark the height of your mixture with a permanent marker.
- Gently place the lid on the jar, without screwing the lid. Simply cover the mixture with the lid.
- Place the jar in a warm place (between 26 °C and 30 °C) for about 6 to 12 hours. Sometimes, it takes shorter time for the sourdough starter to rise, if you see the signs from number 6.
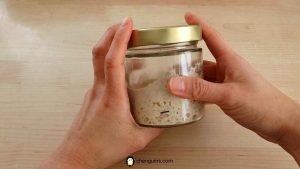
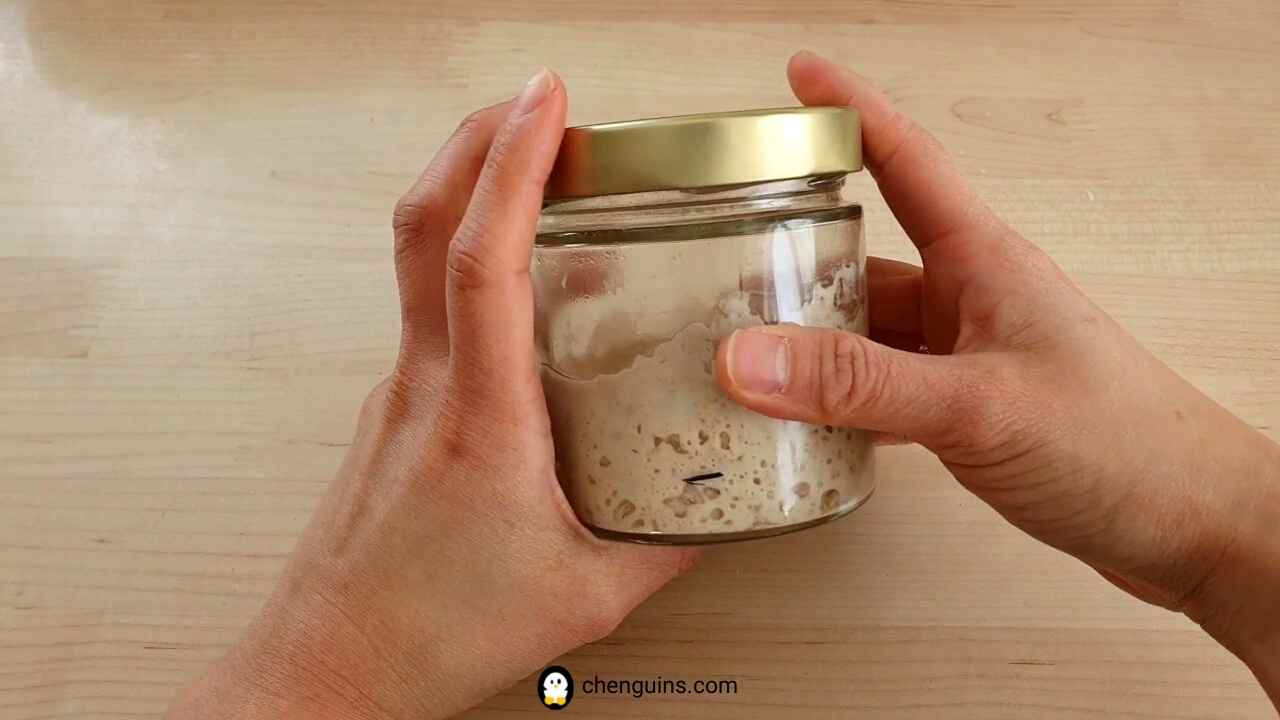
- The height of the sourdough starter should at least be doubled. In addition, there should be many bubbles in the starter. The starter has risen to its maximum and fallen a little. Stiff sourdough starter often does not leave streaks on the sides of the jar. The sourdough starter should start to produce a fruity and citrusy smell. As your starter ages, the smell of it intensifies as well.
- Repeat steps 1-5 for another three to five times to strengthen your sourdough starter.
- Keep the jar with the lid (loosely place on top of the jar) into the refrigerator. Feed your sourdough about once a week. You can either discard the old sourdough or make the best out of it.
Feeding your sourdough starter:
- In a small clean jar, add 50g of all-purpose flour (or the flour you used in previous steps) into 25g of warm water. Thereafter, add 10g of the “new” sourdough starter into the jar. Do not throw away the rest of the old sourdough starter until the new sourdough starter has grown successfully. In case, the new sourdough starter did not work out, you can refresh the old sourdough starter again.
- Mix the ingredients with a clean spoon until you get a smooth texture.
- With the help of a second spoon, smoothen the top of the mixture until you get a flat surface. Mark the height of your mixture with a permanent marker.
- Gently place the lid on the jar, without screwing the lid. Simply cover the mixture with the lid.
- Place the jar in a warm place (between 21 °C and 26 °C) for about 6 to 12 hours. Sometimes, it takes shorter time for the sourdough starter to rise, if you see the signs from the next step.
- The height of the sourdough starter should at least be doubled. In addition, there should be many bubbles in the starter. The starter has risen to its maximum and fallen a little. Stiff sourdough starter often does not leave streaks on the sides of the jar. The sourdough starter should start to produce a fruity and citrusy smell. As your starter ages, the smell of it intensifies as well.
- Keep the jar with the lid (loosely place on top of the jar) into the refrigerator. Feed your sourdough about once a week. You can either discard the old sourdough or make the best out of it.
How do you know when the sourdough starter is ready or good
It is always the same. An active sourdough starter is bubbly and doubles in height, when it is ready. It smells fruity and citrusy.
If it does not smell right, then it needs some refreshment (you will need to feed it). Also, it should not be moldy and looks unhealthy.
When your sourdough starter is young, you will realise that the breads you baked aren’t as fluffy as you wish (this factor is also affected by the type of flour you use). With time and maturity, your sourdoughs will be perfect.
How to store a sourdough starter
Store the “new” sourdough starter in the refrigerator to slow down the fermentation. This will “retard” its fermentation. Do not forget to feed the sourdough starter once a week with the same type of flour you used for switching. For more tips, visit this post.
If you have read the entire guide, tell me in the comment section below! I hope that part II of this guide is helpful for you. It is really not as difficult as you think, just relax, have fun and experiment all sorts of baked goods. If you treat your sourdough starter well, it will stay loyal and pay you back with the best breads, you have ever tasted.
Have you tried switching flour for sourdough starter? What was your experience? Show me and tag me #chenguins on social media, so that I can see your recreation as well.
Until next time & guten Appetit!
Greetings from the Black Forest,
Pia
Watch how to make this recipe
Print this recipe
How to feed sourdough starter with another type of flour
Equipment
- Kitchen scale
- 1 500g Glass jar with lid heat-resistant, canning jars
- 2-3 Metal Spoons long-enough for the jars
- 1-2 Bowls
Ingredients you need
- 25 g Warm water for stiff sourdough starter ~ 40 °C or 50g warm water for liquid starter
- 50 g All-purpose flour or the type of flour you baked with the most
- 10 g Cold and active rye sourdough starter see Part I
- Boiling water clean all utensils
Feeding sourdough starter
- 25 g Warm water ~ 40 °C
- 50 g All-purpose flour or the type of flour you used
- 10 g Active sourdough starter
- Boiling water clean all utensils
Directions
Switching flour for your sourdough starter
- In a small clean jar, add 50g of all-purpose flour (or flour of your choice) into 25g of warm water. Thereafter, add 10g of the active rye sourdough starter (see Part I) into the jar. Do not throw away the rest of the rye sourdough starter until the new sourdough starter has grown successfully. In case, the new sourdough starter did not work out, you can switch the rye sourdough starter again. In addition, it is also possible to own several types of sourdough starters for different types of sourdoughs.

- Mix the ingredients with a clean spoon until you get a smooth texture.
- With the help of a second spoon, smoothen the top of the mixture until you get a flat surface. Mark the height of your mixture with a permanent marker.
- Gently place the lid on the jar, without screwing the lid. Simply cover the mixture with the lid.
- Place the jar in a warm place (between 26 °C and 30 °C) for about 8 to 12 hours. Sometimes, it takes shorter time for the sourdough starter to rise, if you see the signs from number 6.
- The height of the sourdough starter should at least be doubled. In addition, there should be many bubbles in the starter. The starter has risen to its maximum and fallen a little. The sourdough starter should start to produce a mild fruity and citrusy smell.
- Using the new sourdough starter, repeat the whole process for another three to five times to strengthen your sourdough starter.
- Keep the jar with the lid (loosely place on top of the jar) into the refrigerator. Feed your sourdough about once a week.
Feeding sourdough starter
- In a small clean jar, add 50g of all-purpose flour (or the flour you used in previous steps) into 50g of warm water. Thereafter, add 10g of the sourdough starter into the jar. Do not throw away the rest of the old sourdough starter until the new sourdough starter has grown successfully. In case, the new sourdough starter did not work out, you can refresh the old sourdough starter again.
- Mix the ingredients with a clean spoon until you get a smooth texture.
- With the help of a second spoon, smoothen the top of the mixture until you get a flat surface. Mark the height of your mixture with a permanent marker.
- Gently place the lid on the jar, without screwing the lid. Simply cover the mixture with the lid.
- Place the jar in a warm place (between 21 °C and 26 °C) for about 6 to 12 hours. Sometimes, it takes shorter time for the sourdough starter to rise, if you see the signs from the next step.
- The height of the sourdough starter should at least be doubled. In addition, there should be many bubbles in the starter. The starter has risen to its maximum and fallen a little. The sourdough starter should start to produce a mild fruity and citrusy smell.
- Keep the jar with the lid (loosely place on top of the jar) into the refrigerator. Feed your sourdough about once a week.
Pin for later


0 Comments