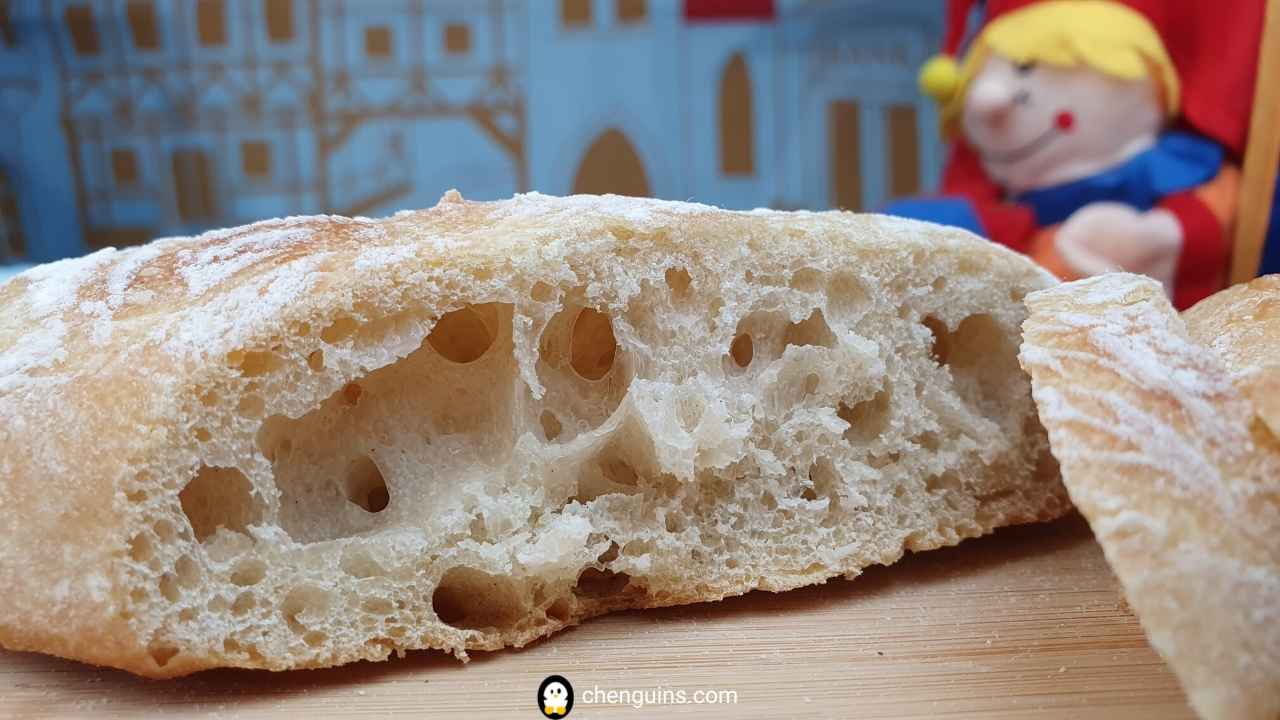
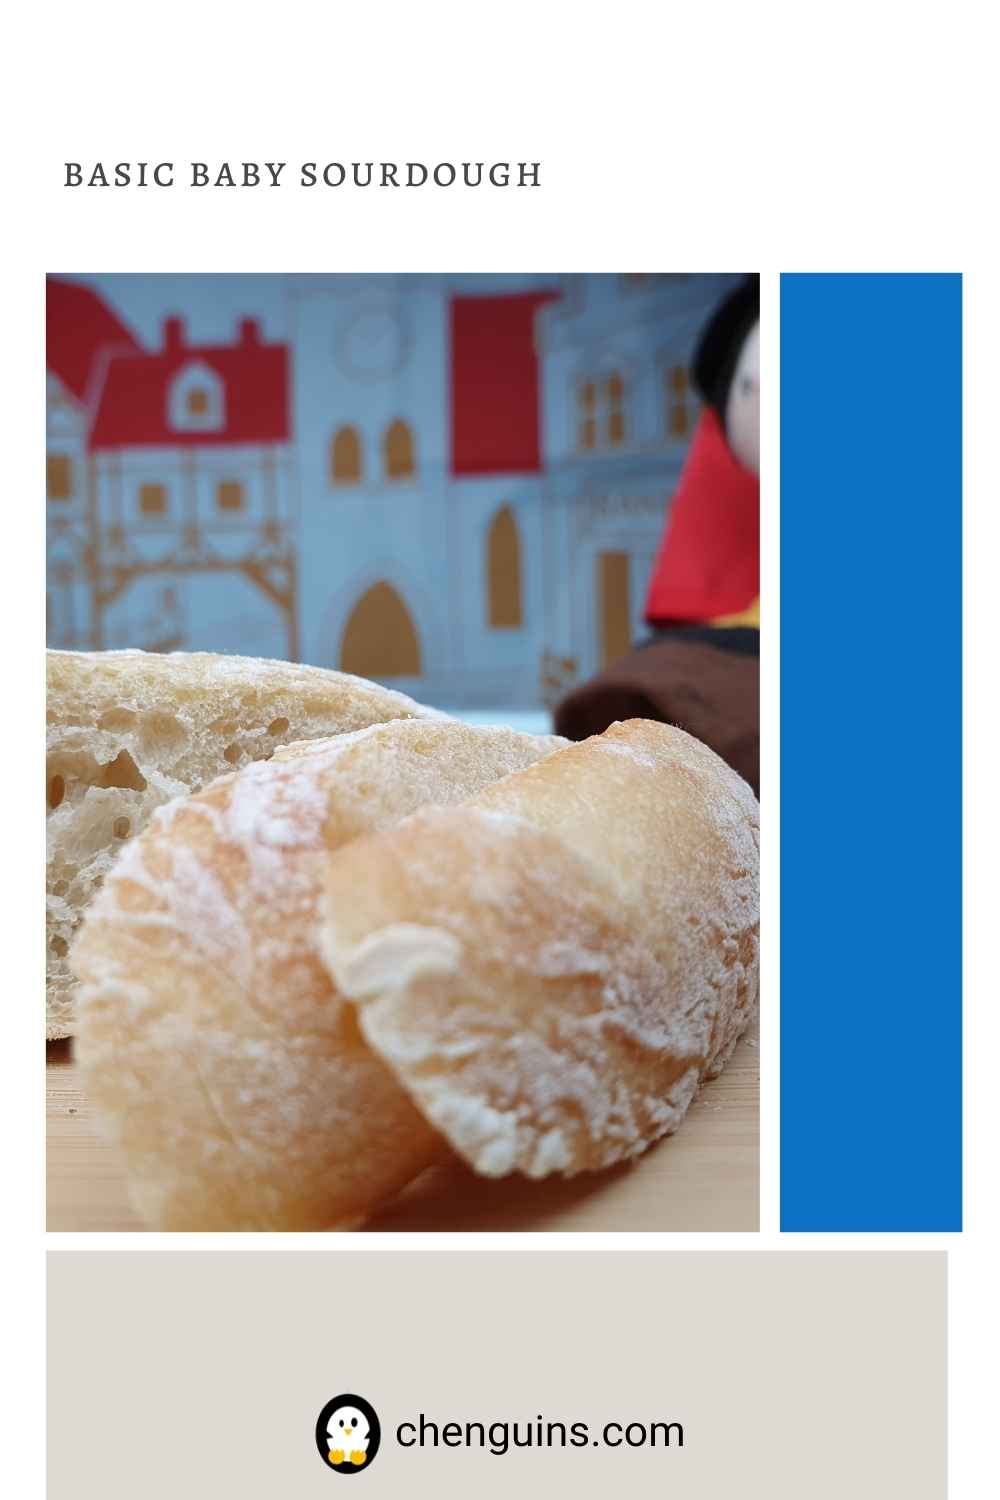
Basic baby bread with sourdough – This basic baby bread recipe requires you only 3 ingredients. Even though there is no salt in this bread, your baby will love the sourdough flavour of it!
Living in a German household, breads are a part of our daily life. Just like rice being a part of my childhood. My children love breads. It is one of their favourite food. Plain bread may sound boring. However, its “weakness” is also its biggest strength. There are so many ways to spice up a simple loaf and your child will love it! Spread some butter or with some homemade fruit jam.
Just a little disclaimer, I am not a nutritionist or physician. I am just a simple mum of 2 kids. You know your kids the best. If you think that your baby is ready for solids, you can try this recipe. If you are unsure, please consult your doctor. I personally introduce breads to my baby, when he was about 8 to 10 months, even though he was ready for solids at an earlier age. My kids have had no problems, and they love sourdough breads.
Tips on making basic baby bread
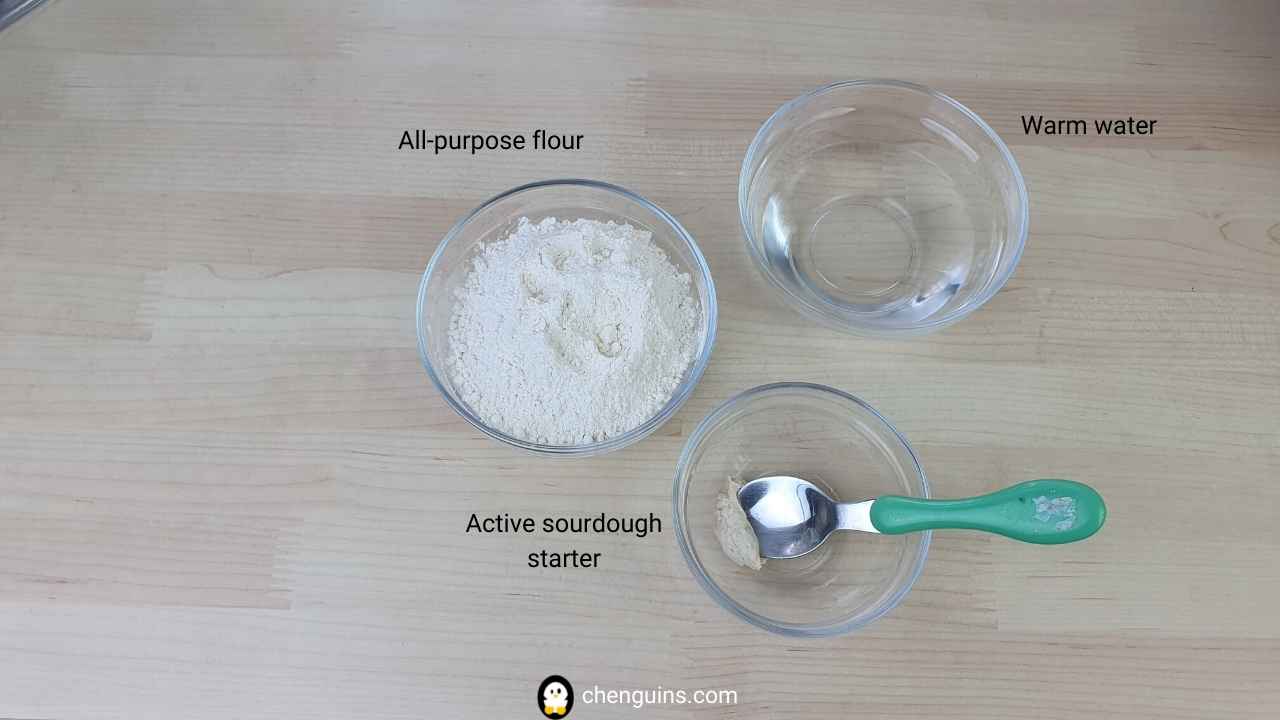
Water: Water is used as a binding agent in this case. It is preferable to use warm water because sourdough contains active organisms, and they like it warm, just like us humans. As an alternative, you can use warm milk instead. The wheat bread will be softer.
All-purpose flour: Plain flour sourdough bread rises faster and larger than a whole wheat sourdough bread. It is more moist than whole wheat bread as well. Sourdough is definitely healthier than other types of breads.
Sourdough: Sourdough is a leavening agent in this case and is certainly my favourite way to bake bread because it is very delicious, and my children love it. Patience and the temperature are king. It takes longer for sourdough bread for baby to rise than with yeast or baking powder. It depends on the temperature of the environment, you may need 8 to 24 hours for your bread. Do not fuss too much about the time, simply observe the size of your bread dough. The warmer, the better (about 21 °C to 23 °C). In summer, the sourdough bread rises faster than in winter. During winter, I would either place my sourdough bread dough near the heater or in the baking oven. For more information, please check out this post or this post.
Baking time: I always use a lidded cast iron pot for my breads. Covering the pot during baking is necessary to prevent the bread from being too hard. It is important not to give your child hard breads, since he/she does not have proper teeth yet.
How to make basic baby bread with sourdough starter
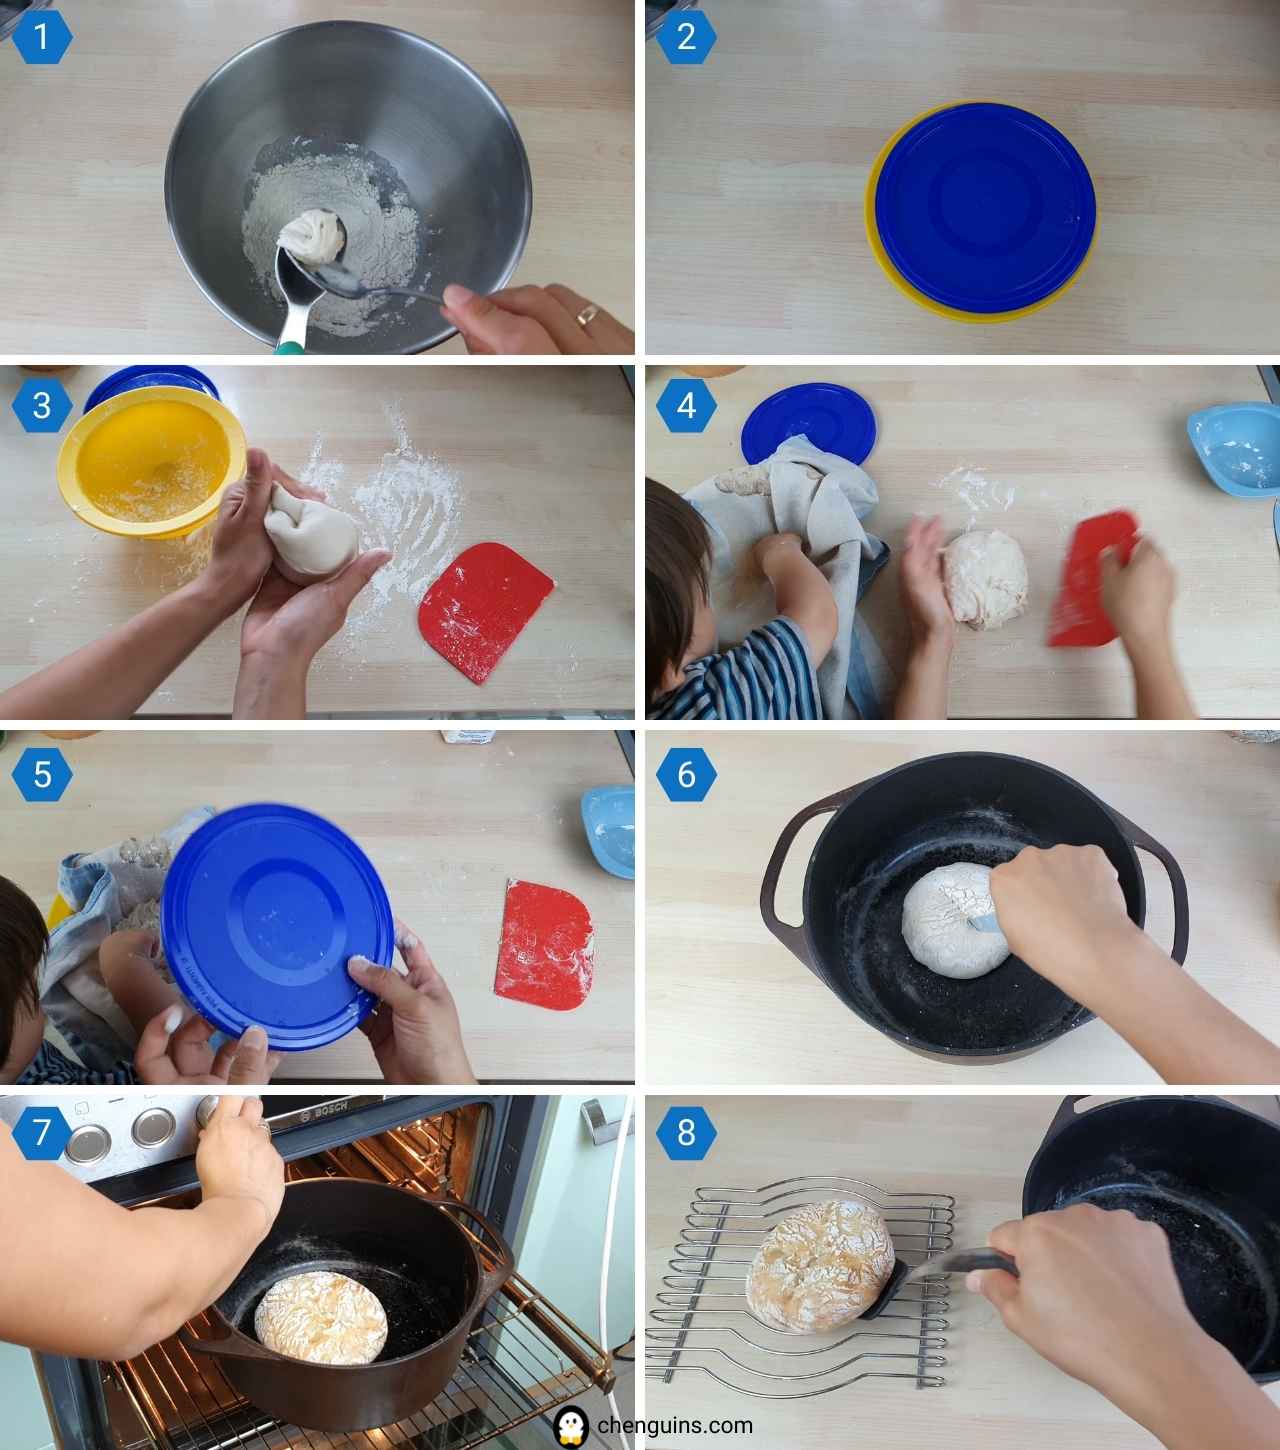
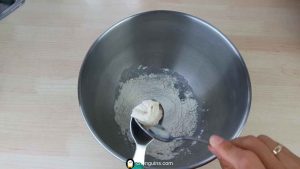
- In a small bowl, add in warm water, all-purpose flour and sourdough. Mix the ingredients either using hands or an electric mixer until a non-sticky dough is form.
- Spread some all-purpose flour in a separate bowl and transfer the dough into the bowl.
- Cover the bowl with a suitable cutting board or a plastic to prevent the dough from drying. Allow the dough to rest and keep the bowl in a warm place (about 21 °C – 23 °C).
- After 2 – 8 hours, check if the bread dough has increase in size (it does not have to be double). Once it has increase in size, stretch and fold all sides of the dough with your hands. If the dough gets too sticky, spread very little all-purpose flour to ease the folding.
- After which, cover the bread dough again and repeat step 3. Once the sourdough bread doubles after about 2 – 8 hours, repeat step 4 and 3 once more.
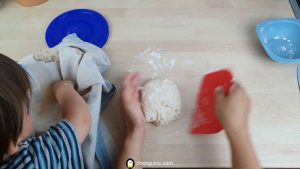
- When the dough rises once more after 2 – 6 hours, spread a little flour onto your working space and transfer your sourdough bread from the bowl to your working top using your dough scraper.
- In order to retain the air in the baby bread, please do not knead the dough. Simply form the dough into a round shape. If the bread dough gets too sticky, spread a little flour onto your hands.
- Place a kitchen towel in another small bowl and distribute a little flour all over the towel to prevent the dough from sticking to the towel. For the last time, repeat step 3 for another 1 – 2 hours.
- Preheat baking oven and cast iron pot with a lid to 250 °C. Once the oven is hot enough, take the pot out. Be careful, it is extremely hot! If you do not own a cast iron pot with a lid, then please refer to this post for an alternative baking method (from step 9 onwards).
- Remove the cover of the pot and transfer the bread dough onto the parchment paper by simply grabbing the kitchen towel and bowl. Flip the bowl and the dough will drop onto the baking tray. Use a knife to score the surface of the bread and spread a little flour over the surface of the bread for a rustic look.
- Cover the pot with a lid (be careful, it is hot!) and place everything into the preheated oven. Lower the heat to 230 °C and bake for about 17 minutes.
- After 17 minutes, remove the lid of the cast iron pot and continue baking the baby bread for about 8 minutes or until the bread turn slightly brown/ slightly crispy. It depends on your baking oven, you might need to adjust the baking time accordingly. Just have fun and try it out.
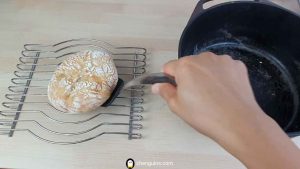
- After baking, remove the sourdough bread for baby from the tray and place it on a cooling tray until it is completely cool down. Thereafter, you can store it in a cloth bag. Serve this bread plain or with some homemade baby fruit jam for breakfast. Finish it within 3-4 days because wheat bread tends to dry out quicker than other types of breads.
You might also like
How to serve basic baby bread
This plain baby bread goes best with butter and a healthy homemade fruit jam. This homemade jam is completely without added refined sugar, and it is perfect for kids and adults. Cut the bread slices into tiny pieces and allow your child to enjoy it at his/her own pace.
How to store basic baby sourdough
How to store Basic baby bread
In a cloth bag and in a dry place, you can keep this plain sourdough bread for baby for 3 to 4 days. Since the bread is tiny, it tends to dry out quicker than larger breads. Therefore, try to finish this bread as soon as possible. You can freeze this baby bread for several months. However, fresh sourdough bread for baby is just more delicious.
Have you tried this recipe? If yes, I hope you enjoy the recipe as much as my family does. Show me and tag me #chenguins on social media, so that I can see your recreation as well.
How does your baby enjoy this recipe? Share it with me in the comment section below!
Until next time & guten Appetit!
Greetings from the Black Forest,
Pia
Watch how to make this recipe
Print this recipe
Basic Baby Bread (Sourdough Recipe)
Ingredients you need
- 95 g Warm water ~ 40 °C
- 147 g All-purpose flour
- 5 g Active sourdough starter
Directions
- In a small bowl, add in warm water, all-purpose flour and sourdough. Mix the ingredients either using hands or an electric mixer until a non-sticky dough is form.
- Spread some all-purpose flour in a separate bowl and transfer the dough into the bowl.
- Cover the bowl with a suitable cutting board or a plastic to prevent the dough from drying. Allow the dough to rest and keep the bowl in a warm place (about 21 °C - 23 °C).
- After 2 - 8 hours, check if the bread dough has increase in size (it does not have to be double). Once it has increase in size, stretch and fold all sides of the dough with your hands. If the dough gets too sticky, spread very little all-purpose flour to ease the folding.
- After which, cover the bread dough again and repeat step 3. Once the sourdough bread doubles after about 2 - 8 hours, repeat step 4 and 3 once more.
- When the dough rises once more after 2 - 6 hours, spread a little flour onto your working space and transfer your sourdough bread from the bowl to your working top using your dough scraper.
- In order to retain the air in the baby bread, please do not knead the dough. Simply form the dough into a round shape. If the bread dough gets too sticky, spread a little flour onto your hands.
- Place a kitchen towel in another small bowl and distribute a little flour all over the towel to prevent the dough from sticking to the towel. For the last time, repeat step 3 for another 1 - 2 hours.
- Preheat baking oven and cast iron pot with a lid to 250 °C. Once the oven is hot enough, take the pot out. Be careful, it is extremely hot! If you do not own a cast iron pot with a lid, then please refer to this post for an alternative baking method (from step 9 onwards).
- Remove the cover of the pot and transfer the bread dough onto the parchment paper by simply grabbing the kitchen towel and bowl. Flip the bowl and the dough will drop onto the baking tray. Use a knife to score the surface of the bread and spread a little flour over the surface of the bread for a rustic look.
- Cover the pot with a lid (be careful, it is hot!) and place everything into the preheated oven. Lower the heat to 230 °C and bake for about 17 minutes.
- After 17 minutes, remove the lid of the cast iron pot and continue baking the baby bread for about 8 minutes or until the bread turn slightly brown/ slightly crispy. It depends on your baking oven, you might need to adjust the baking time accordingly. Just have fun and try it out.
- After baking, remove the sourdough bread for baby from the tray and place it on a cooling tray until it is completely cool down. Thereafter, you can store it in a cloth bag. Serve this bread plain or with some homemade baby fruit jam for breakfast. Finish it within 3-4 days because wheat bread tends to dry out quicker than other types of breads.
Pin for later






0 Comments